
As those Python Boys would say "and now for something completely different".
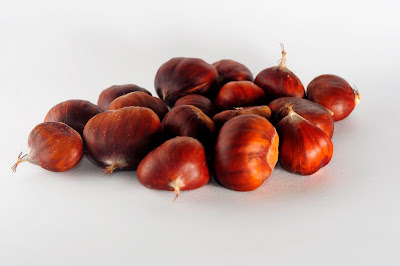
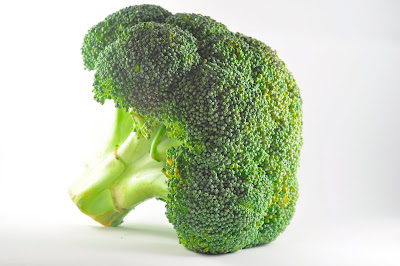
Food, a subject I hold very close to my heart. The story here is once again the need for something to go on our walls at home, this time for the kitchen.
I knew I wanted that popular clean white background look so that the entire focus of the eye is on the subject, in this case fruit and veg. There are, I'm sure many ways of doing this but here is how I achieved it.
Things you'll need:
Your camera
Sheets of plain white A4 paper (the boring office kind will do)
Two or three Speedlights
Bluetack
Photoshop (or any other good editing software)
I started by making a box shape out of the sheets of paper, securing them with the blue tack and placing the speedlights behind them. The sheets of paper would act as diffusers, nicely lighting the food and keeping the background nice and white.
I shot with my camera tethered to my laptop via USB and 'Nikon Camera Control Pro 2' software. This would speed things up considerably, allowing me to view the images on screen in real time, assess and make adjustments if needed. Once I had roughly the image I was looking for it was a case of opening it up in PS using a bit of the paint brush tool to iron out that white background a little or, in fact for most of the pictures I used the select tool to select the item of food, inversed the selection and simply tweaked the brightness getting the background back to pure white.
As for camera and lenses, I used the Nikkor 50mm f/1.8, I triggered the speedlights via 'CLS' or 'Creative Lighting System' basically, in a nutshell using the onboard pop-up flash to talk to the speedlights telling them not only when to fire, but how much power ect. I find it to be quite an easy system to use, generally I use it on manual as It gives more consistent results, but I do have to say I find iTTL to be a safe/quick option too when needed.
In this case I was in 'A' mode, ISO set to 200 and power output of the flashes at 1/16th of the power (again to make the background as white as possible). I set the aperture to f/1.8 and I decreased the aperture size until the correct look was achieved, and took a few frames with that.
I moved the speedlights around until the shadows were where I wanted them to be, on some pictures I used the pop-up flash as a fill light too.
Each different item of food produced a different lighting challenge which made it quite a lengthy but fun exercise.
I also made this time-lapse video to help illustrate what was going on.
Hope this helps, Don't forget to subscribe and comment if you need further information.

No comments:
Post a Comment